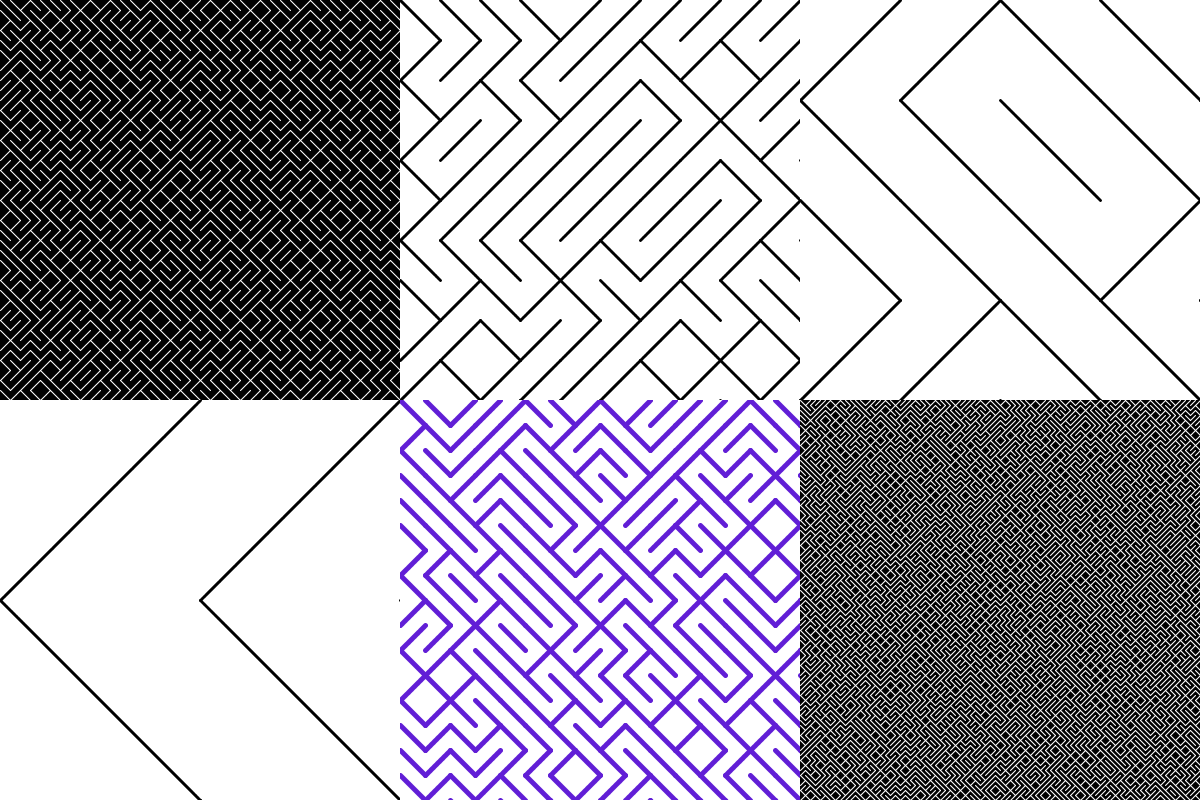
Continuing the Processing.py series, this article demonstrates how to implement ’10 PRINT’ to create interesting line images. 10 PRINT is an old Commodore 64 one-line program written in BASIC that looks like this:
10 PRINT CHR$(205.5+RND(1)); : GOTO 10
For more information, see 10print.org.
For the previous entry in the Processing.py series, see this page:
Here is the Processing.py code to implement 10 PRINT:
x = 0
y = 0
spacing = 10
rand_point = 0.50

def setup():
    size(400, 400)
    background(0)
    stroke(255)
    # stroke('#2C4AF0')  # blue
    # stroke('#106A09')  # green
    # stroke('#611ED6')  # purple
    # strokeWeight(3)

def draw():
    global x, y, spacing, rand_point
    if (random(1) < rand_point):
        line(x, y, x+spacing, y+spacing)
    else:
        line(x, y+spacing, x+spacing, y)
    x += spacing

    if x > width:
        x = 0
        y += spacing

    saveFrame("print10_21.gif")
Notes about this code:
- The
draw()function in Processing.py acts like a continuous loop, similar to a Pygame main event loop - The
spacingvariable controls the length of the diagonal lines - The
background()variable controls the color of the background - The
stroke()variable controls the color of the lines - The
strokeWeight()variable controls the thickness of the lines - The
rand_pointis the sorting point at which each random number that is generated will be rendered as either a forward slash or a back slash.
By playing with all of these variables, it is possible to create a wide variety of outputs. For example:

A wide variety of outputs can be achieved.