It is possible to run JavaScript (Node.js in REPL mode) in a Jupyter Notebook on a Windows machine. In order to do so, you will need to install the JavaScript (Node.js) kernel. This can be done easily assuming Node.js, npm, and Jupyter Notebook are already installed on your machine.
The following instructions are for adding the JavasScript (Node.js) kernel to an existing Jupyter Notebook installation on Windows 10.
Step 1:
Go into the WynPython folder where the Jupyter Notebook.exe folder lives. In my case it is C:\WinPython. Click the ‘WinPython Command Prompt.exe’ for a command prompt.
Step 2:
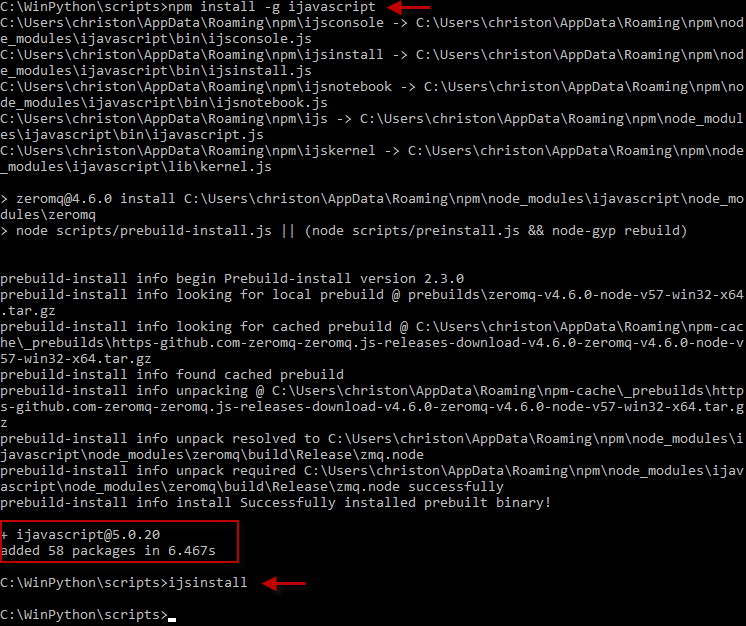
At the command prompt, type the command:
npm install -g ijavascript
When that command completes, run:
ijsinstall
For example:
Step 3:
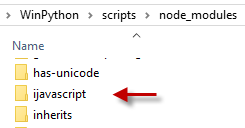
Confirm the installation was successful.
Inside the WinPython folder, you should now see a node_modules folder. Inside this folder, there should be a ‘ijavascript’ folder.
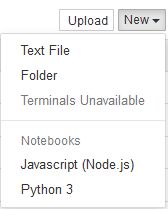
Next, open a new notebook from the Jupyter Notebook Home page. You should see the the option for ‘Javascript (Node.js)’ :
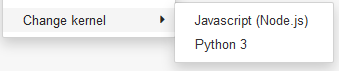
When the new Javascript notebook opens, there will be two more signs that the installation was successful. Under Kernel –> Change kernel in the menu, you should see the option for ‘Javascript (Node.js)’ :
To the right of the menu, you should also see this confirmation:
More installation instructions for Windows can be found here:
http://n-riesco.github.io/ijavascript/doc/install.md.html