This article has instructions for installation of Ruby on Windows 10.
1. Go to the Ruby downloads page and click the “Download” button:
https://www.ruby-lang.org/en/downloads/
2. Click the Ruby Installer link which should take you here:
https://rubyinstaller.org/
3. Click the Download button, which leads here: (or skip the first two steps and go straight here!)
https://rubyinstaller.org/downloads/
4. Since I have a 64bit machine, I am installing the 64bit version:
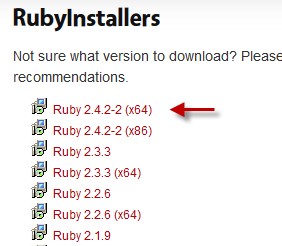
Once the installer is downloaded, run the .exe. In my case it was called “rubyinstaller-2.4.2-2-x64.exe”.
5. In the last step of the install, keep the checkbox checked for installing the sdk before clicking “Finish”. After clicking the Finish button, a command window will open that looks like this:
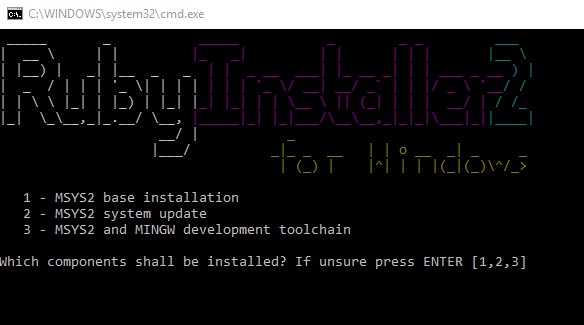
Press Enter to install all three. This step will install quite a few ruby modules.
6. Confirm the installation.
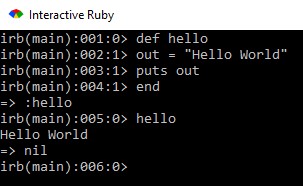
There should be an irb (Interactive Ruby) command prompt that came with the installation. In this command prompt, create a method called hello and then call it:
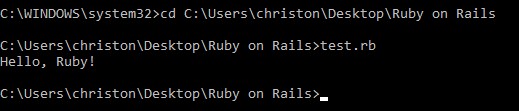
In Atom (or other web IDE that supports Ruby), create a test.rb file and type in:
#!/usr/bin/ruby -w

puts "Hello, Ruby!"
Then call the file to be run in a windows command prompt like so:
Alternatively
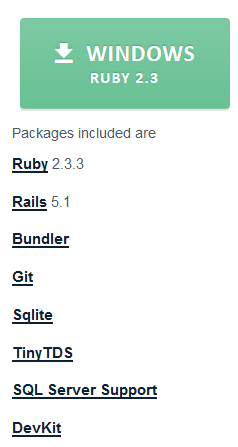
Ruby can be installed using the railsinstaller, which will also install rails, gem, and bundler tools. Start here:
http://railsinstaller.org/en
Download the latest Windows installer :
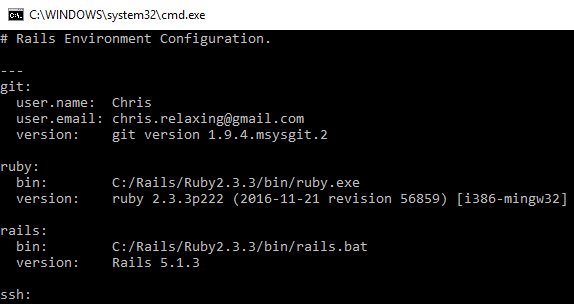
Once downloaded, run the .exe, which in my case was called “railsinstaller-3.4.0.exe”. When the installation completes, a Windows command window will pop up that looks something like this:
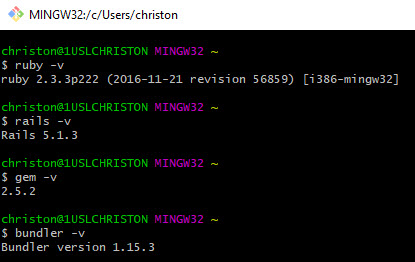
Then confirm that the installation was successful by opening the Git Bash tool and typing in the following commands, one at a time:
ruby -v
rails -v
gem -v
bundler -v
For example: