In this article, I will detail how to make a local “dev” copy of my live WordPress blog for the purpose of testing new styles, developing plugins and experimenting with new themes.
My live WordPress blog is at http://bluegalaxy.info/codewalk. On my local Windows PC I have Bitnami WAMP stack installed, which includes an Apache2 server, PHP, and MySQL (along with a copy of phpMyAdmin).
The steps that will be detailing in this article are:
- Copy WordPress site (files and folders) from remote host to local computer via FTP
- Export MySQL database from remote server to local computer
- Import MySQL database locally
- Adapt MySQL database to run in its new local environment
4a. Add user (get details needed from wp-config.php file)
4b. Update ‘siteurl’ and ‘home’ values in the wp_option table
Step 1: Copy WordPress site from remote host to local computer via FTP
Inside the htdocs folder of your local Apache server, create a folder with the name of your blog. In my case, it is “codewalk”. For example:
C:\Bitnami\wampstack-7.1.14-0\apache2\htdocs\codewalk
The use FTP, (I recommend FileZilla), to copy the entire codewalk folder from the live site, to this new local folder. Everything in the remote codewalk folder should be directly copied to the local codewalk folder.
Step 2: Export MySQL database from remote server to local computer
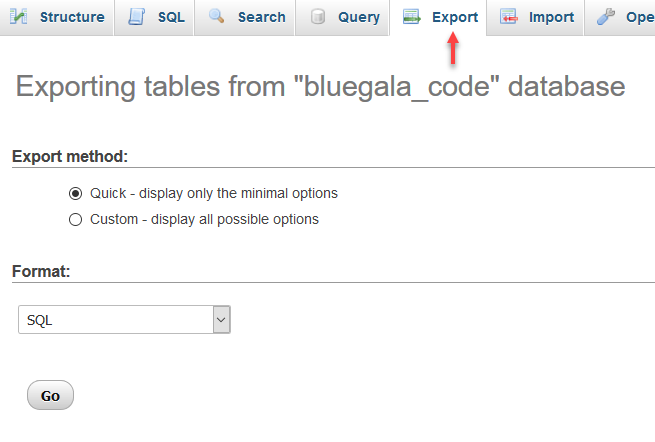
On the remote web hosting account, log into your cPanel and select phpMyAdmin. From there, select the WordPress database and click the “Export” button at the top.
Then you will see a Save File dialog. Click OK.
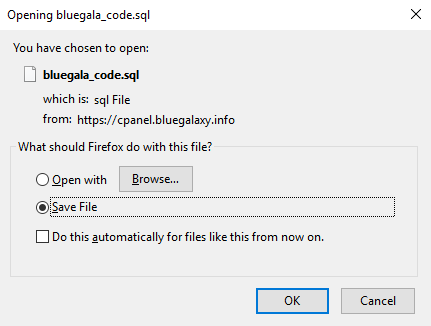
The database will be saved in the Downloads folder.
Note: If you are using a WordPress backup plugin such as Updraft, it will have already saved a copy of your database for you, so you can use the backed up copy rather than exporting it directly through phpMyAdmin.
Step 3: Import MySQL database locally
In your local copy of phpMyAdmin (which comes installed with Bitnami WAMP stack), click the “Import” button at the top.
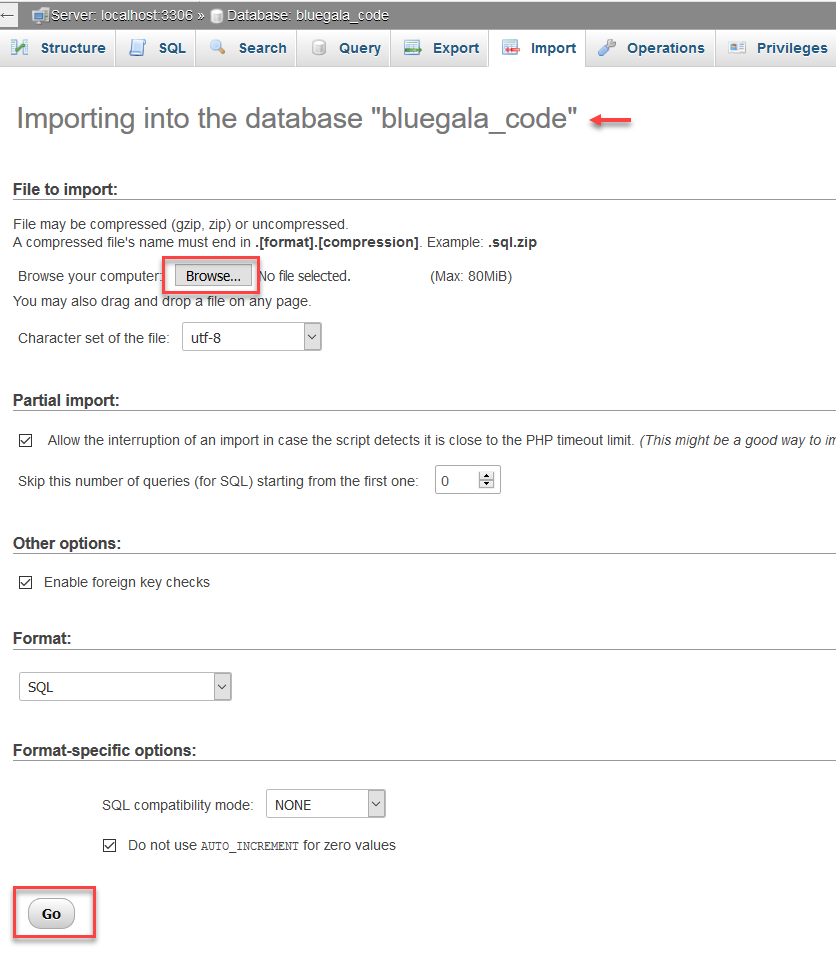
When the import queries are completed, you should get a success message.

Step 4: Adapt MySQL database to run in its new local environment
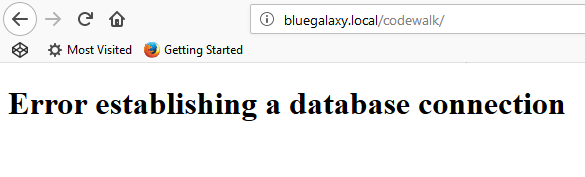
Test the new blog by pointing your browser at it. You should see an error message like this since we have not yet completed all of the steps to adapt the database to its new location:
The two remaining steps are:
- Add user (get details needed from wp-config.php file)
- Update ‘siteurl’ and ‘home’ values in the wp_option table
Step 1: Add user details
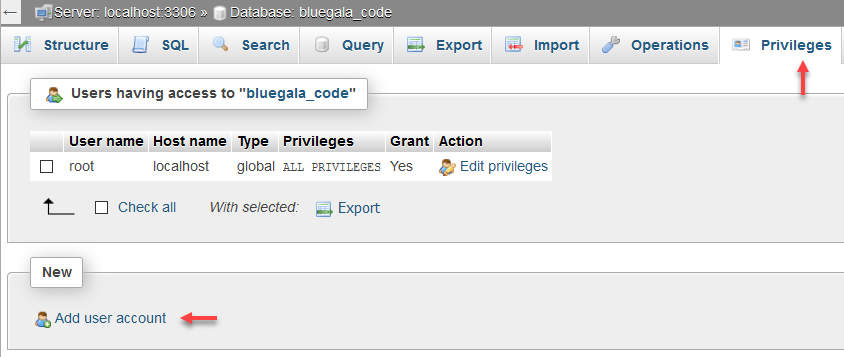
In phpMyAdmin, select the newly imported database and click the “Privileges” button at the top. Then in the dialog that opens, click the “Add user account” link.
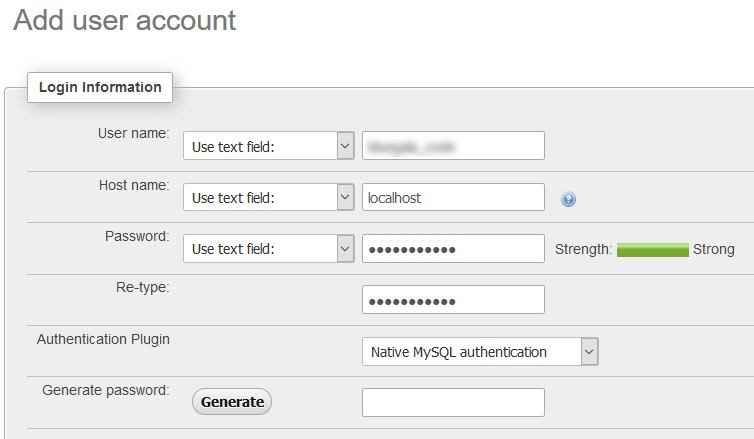
Then an “Add user account” dialog box will open. In this box, you will need to fill in the User name, Host name (“localhost”), and Password.
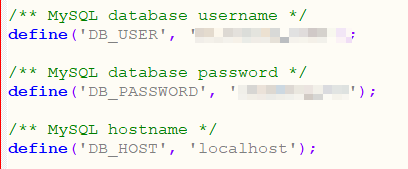
This information should come from the newly copied wp-config.php file found in the main directory of the blog. For example:
Step 2: Update ‘siteurl’ and ‘home’ values in the wp_option table
Click on the wp_options table to view the contents. At the top you should see a couple of entries for ‘siteurl’ and ‘home’ that need to be updated for the new local URL:
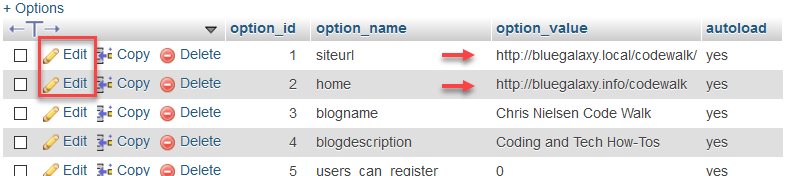
For each of these, click the Edit button as shown above. In the dialog that opens, replace the old live URL with the local URL. In my case it was just a change from bluegalaxy.info to bluegalaxy.local. When done making the edit, click “Go” at the bottom. For example:

When both of these are updated, point your browser back at the local copy of the blog and voila! – the blog should now be working.