To use Python with a Jupyter Notebook for Data Science and other projects, you will first need to make sure you have Python 3 and Jupyter Notebook installed. There are Jupyter Notebook installation instructions here:
https://jupyter.readthedocs.io/en/latest/install.html
This site recommends installing Anaconda, which bundles installation of Python 3 with Jupyter Notebook, which is just fine. However, for this article I am going to recommend installing WinPython which comes with Jupyter Notebook in the bundle.
To install WinPython, start here:
http://winpython.github.io/
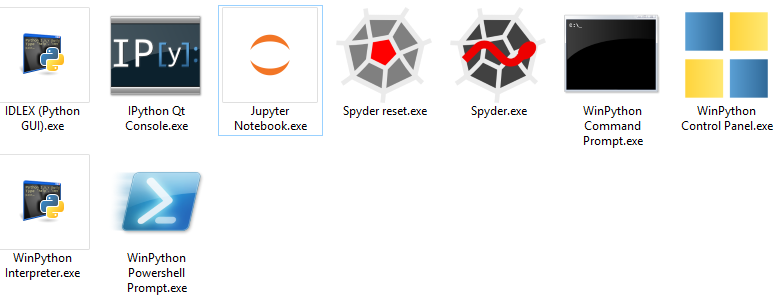
At the top of this page, choose the correct Python 3 download package for Windows and then install WinPython. When installation is complete, you will notice that the bundle comes with a handful of tools in addition to Jupyter Notebook, including the Spyder Python IDE.
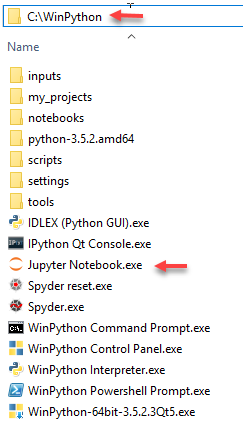
To use Jupyter Notebook, go to the folder where WinPython was installed (in my case C:\WinPython) and click the Jupyter Notebook.exe.
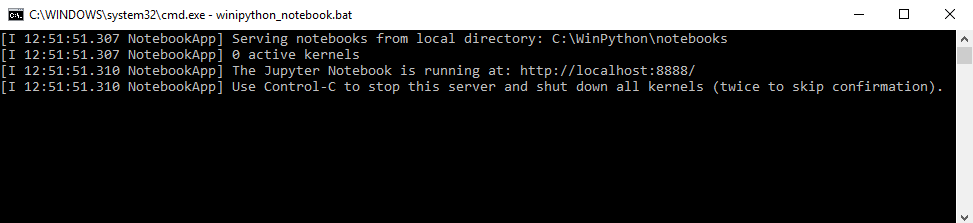
Then you will see a cmd window open up with the title “winpython_notebook.bat”:
Then if you have your browser window open, you will see a page launch at localhost:8888/tree
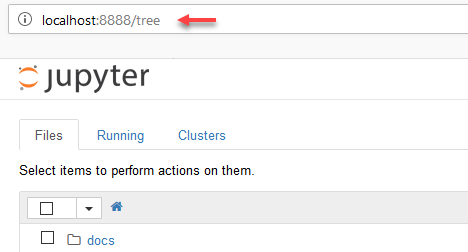
This page is your Jupyter Notebook, ready to execute Python!
From here you can create new notebooks or load and run existing notebooks.
